contact
UK Visas and Immigration
Website User Guide
Help to book your UK visa appointment
Version 2, July 2023
User Guide
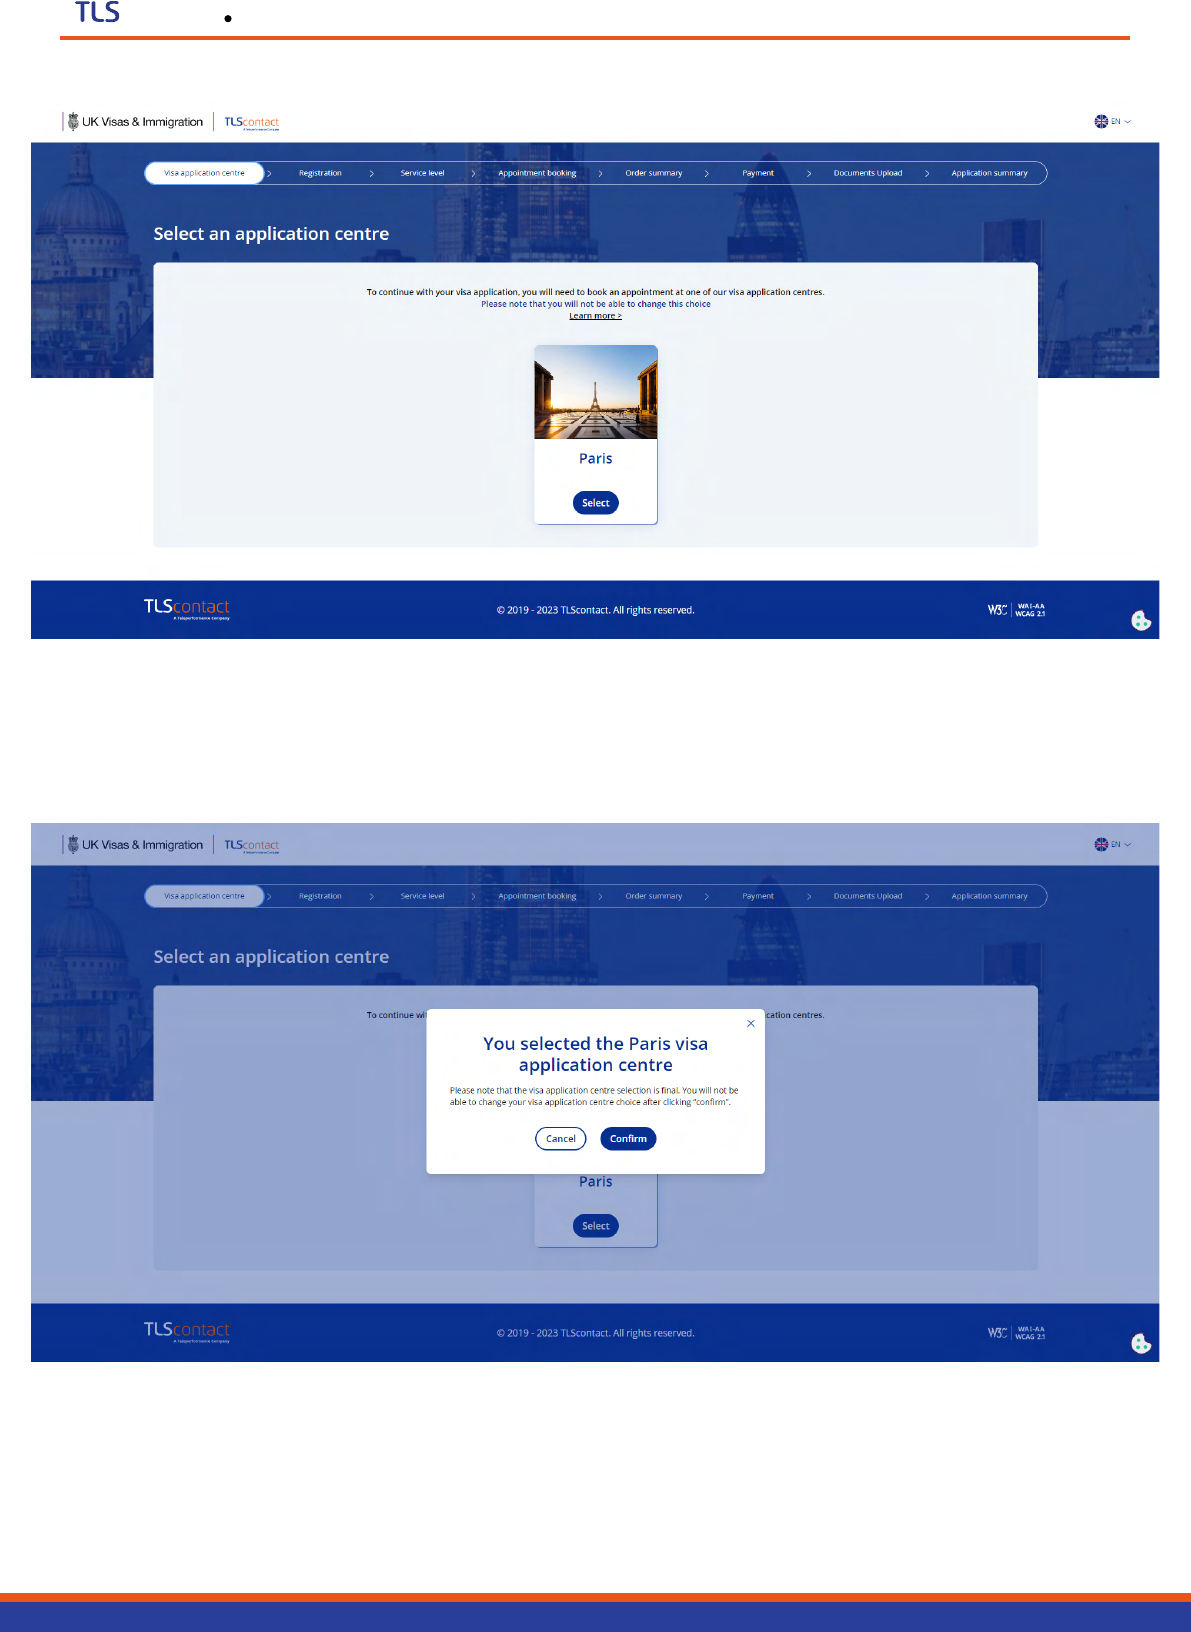
Step 2: Select a visa application centre (VAC)
You will be shown the list of visa application centres available to you.
If there is more than one visa application centre in your country, you will be shown all of them.
contact
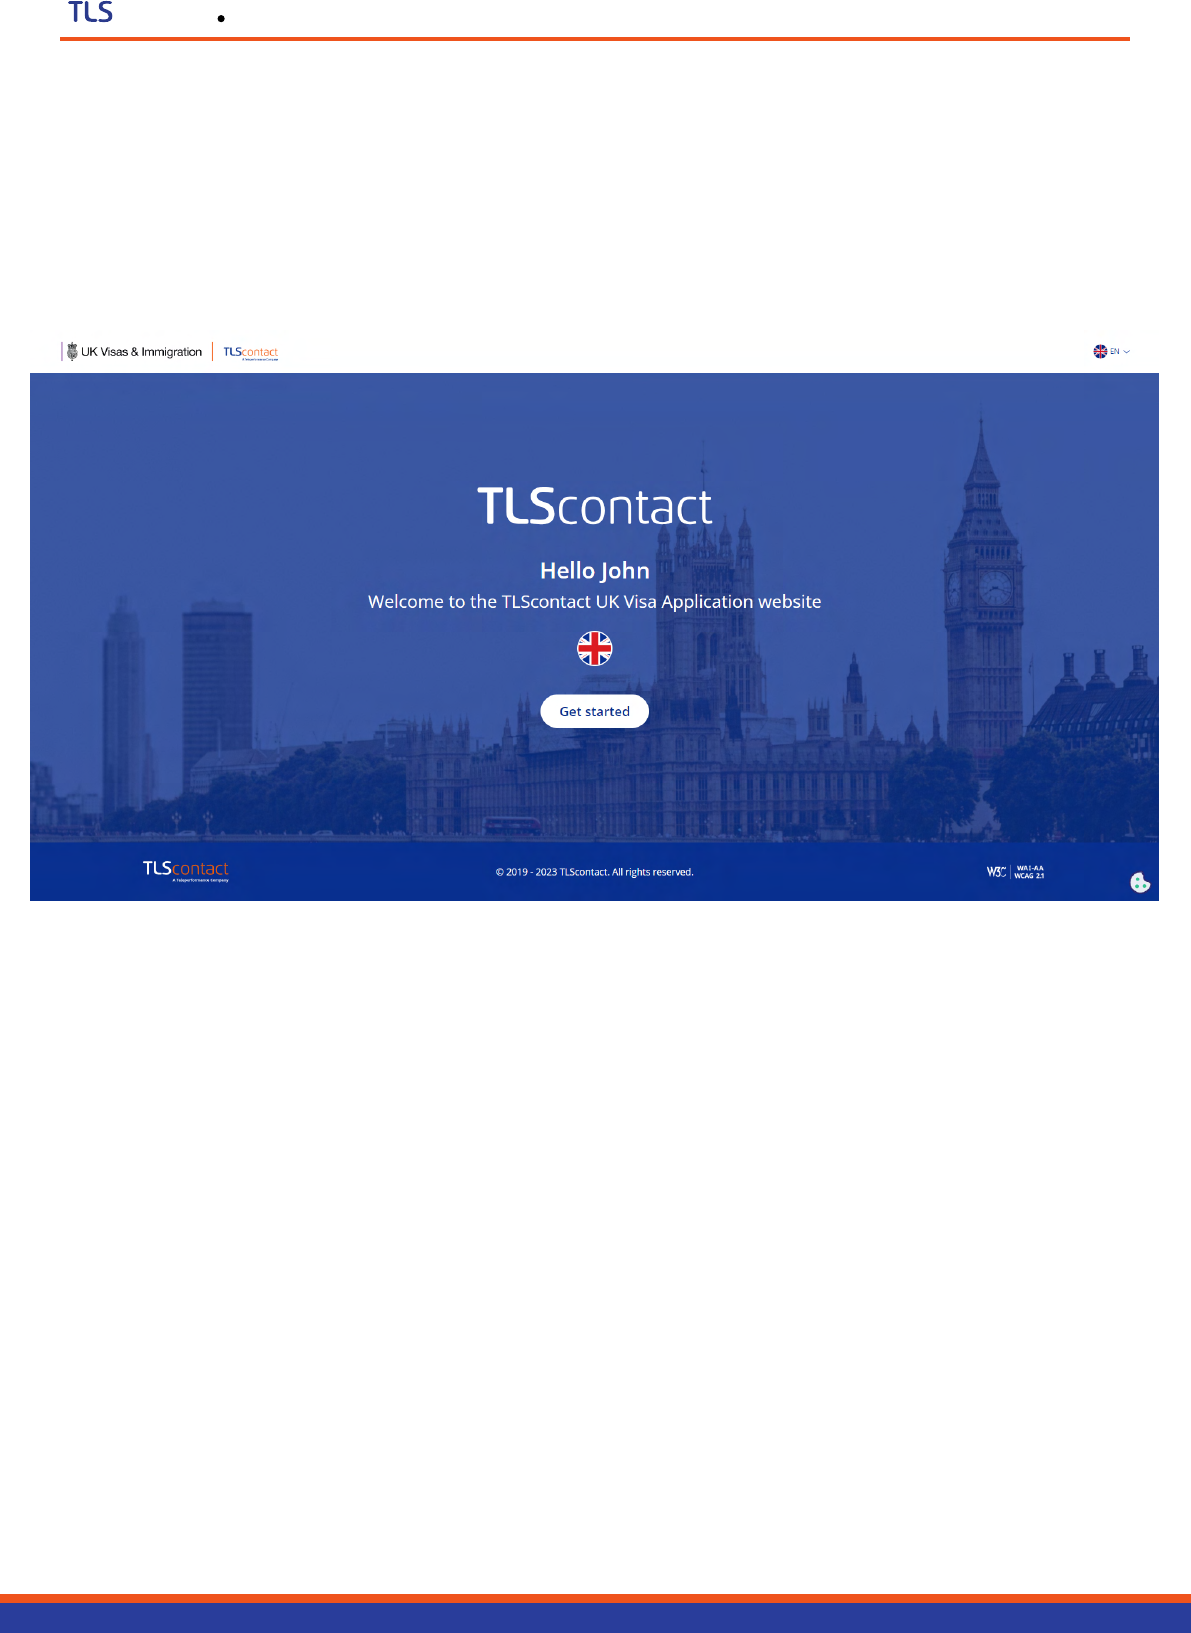
Step 1: Getting started
You need to start your UK visa application on GOV.UK. Once you complete your application,
you will be shown a link to the TLScontact website.
The page you arrive on will look similar to this:
Click on “Get started” to move to the next step.
User Guide
contact
Select the visa application centre you want to use, and click “Confirm”.
IMPORTANT: You cannot change your visa application centre later.
User Guide
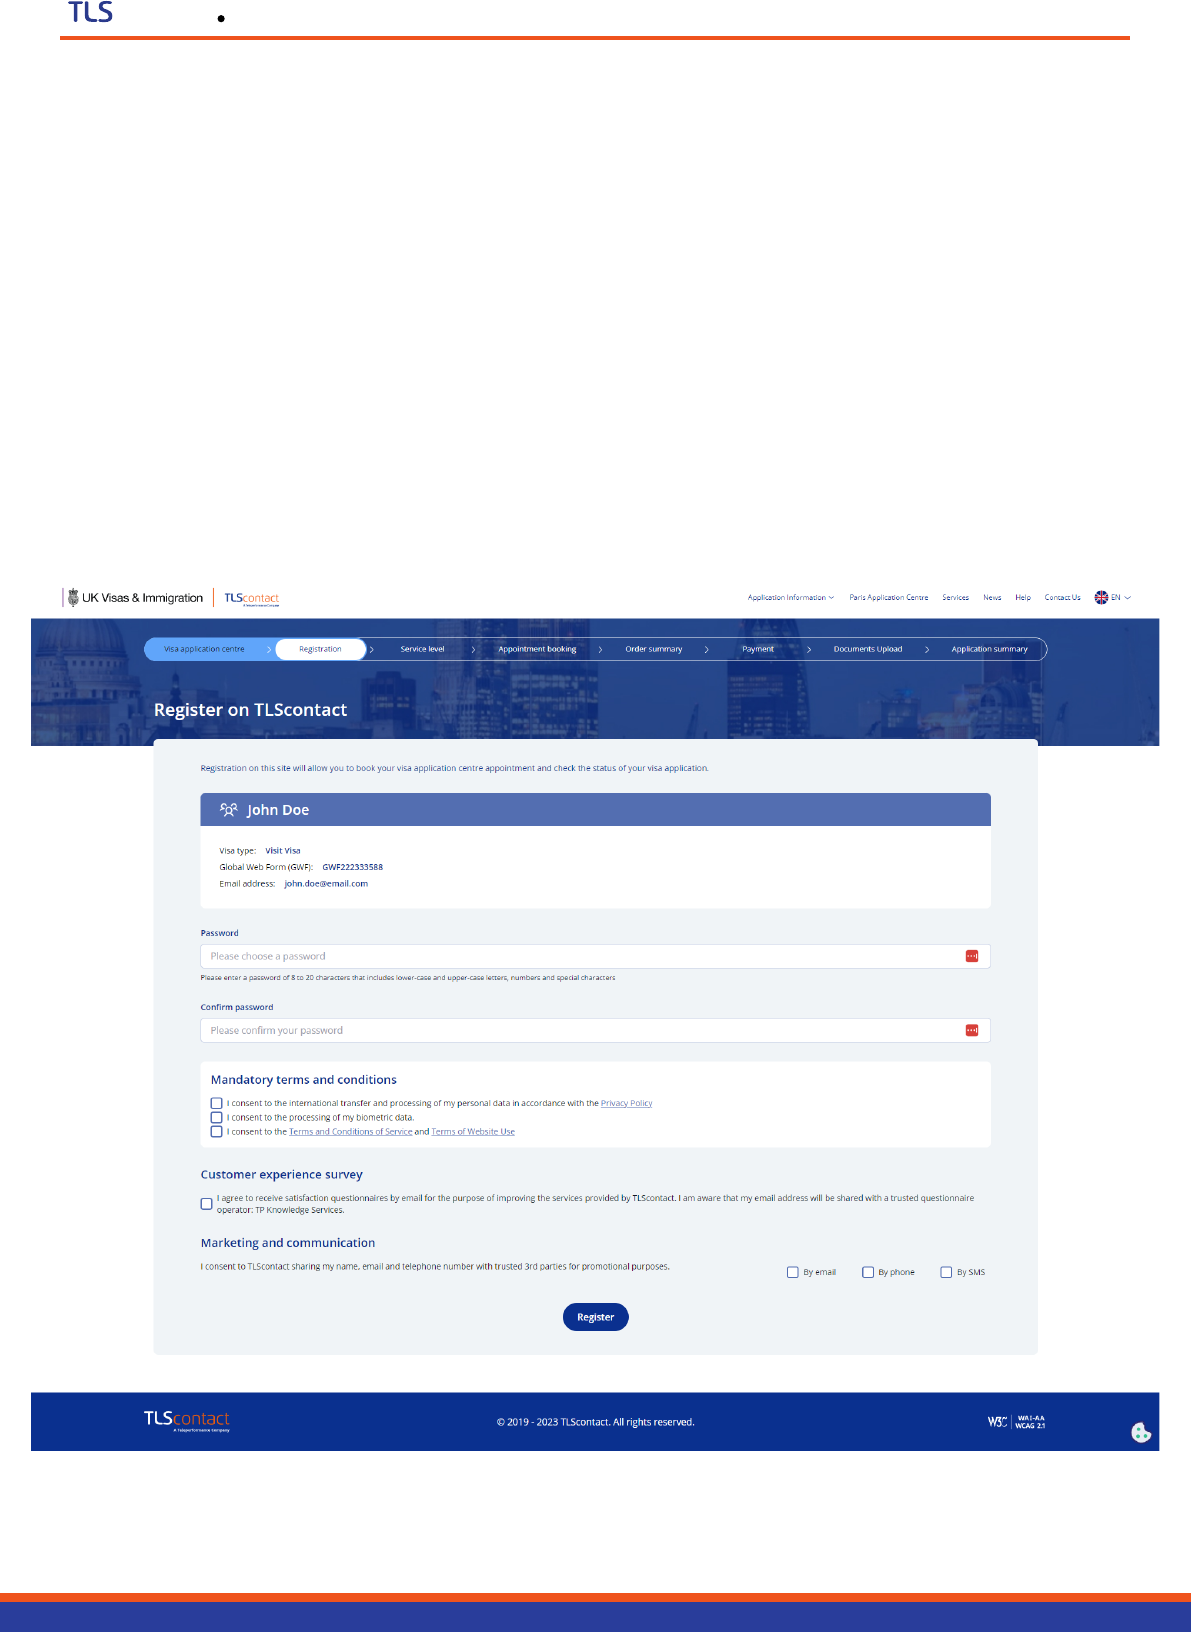
Step 3: Register and create your account
On the next page you will be able to confirm your details and create a password for your account.
Your password must have between 8 and 20 characters and include lower-case and upper-case letters,
numbers and special characters.
Save this password and your GWF number and email address so you can login to your account
again later.
Once you’ve created a password, review and select the mandatory terms and conditions.
You can also choose to take part in our optional customer experience survey and receive
promotional information.
Click on “Register” to move to the next step.
contact
User Guide
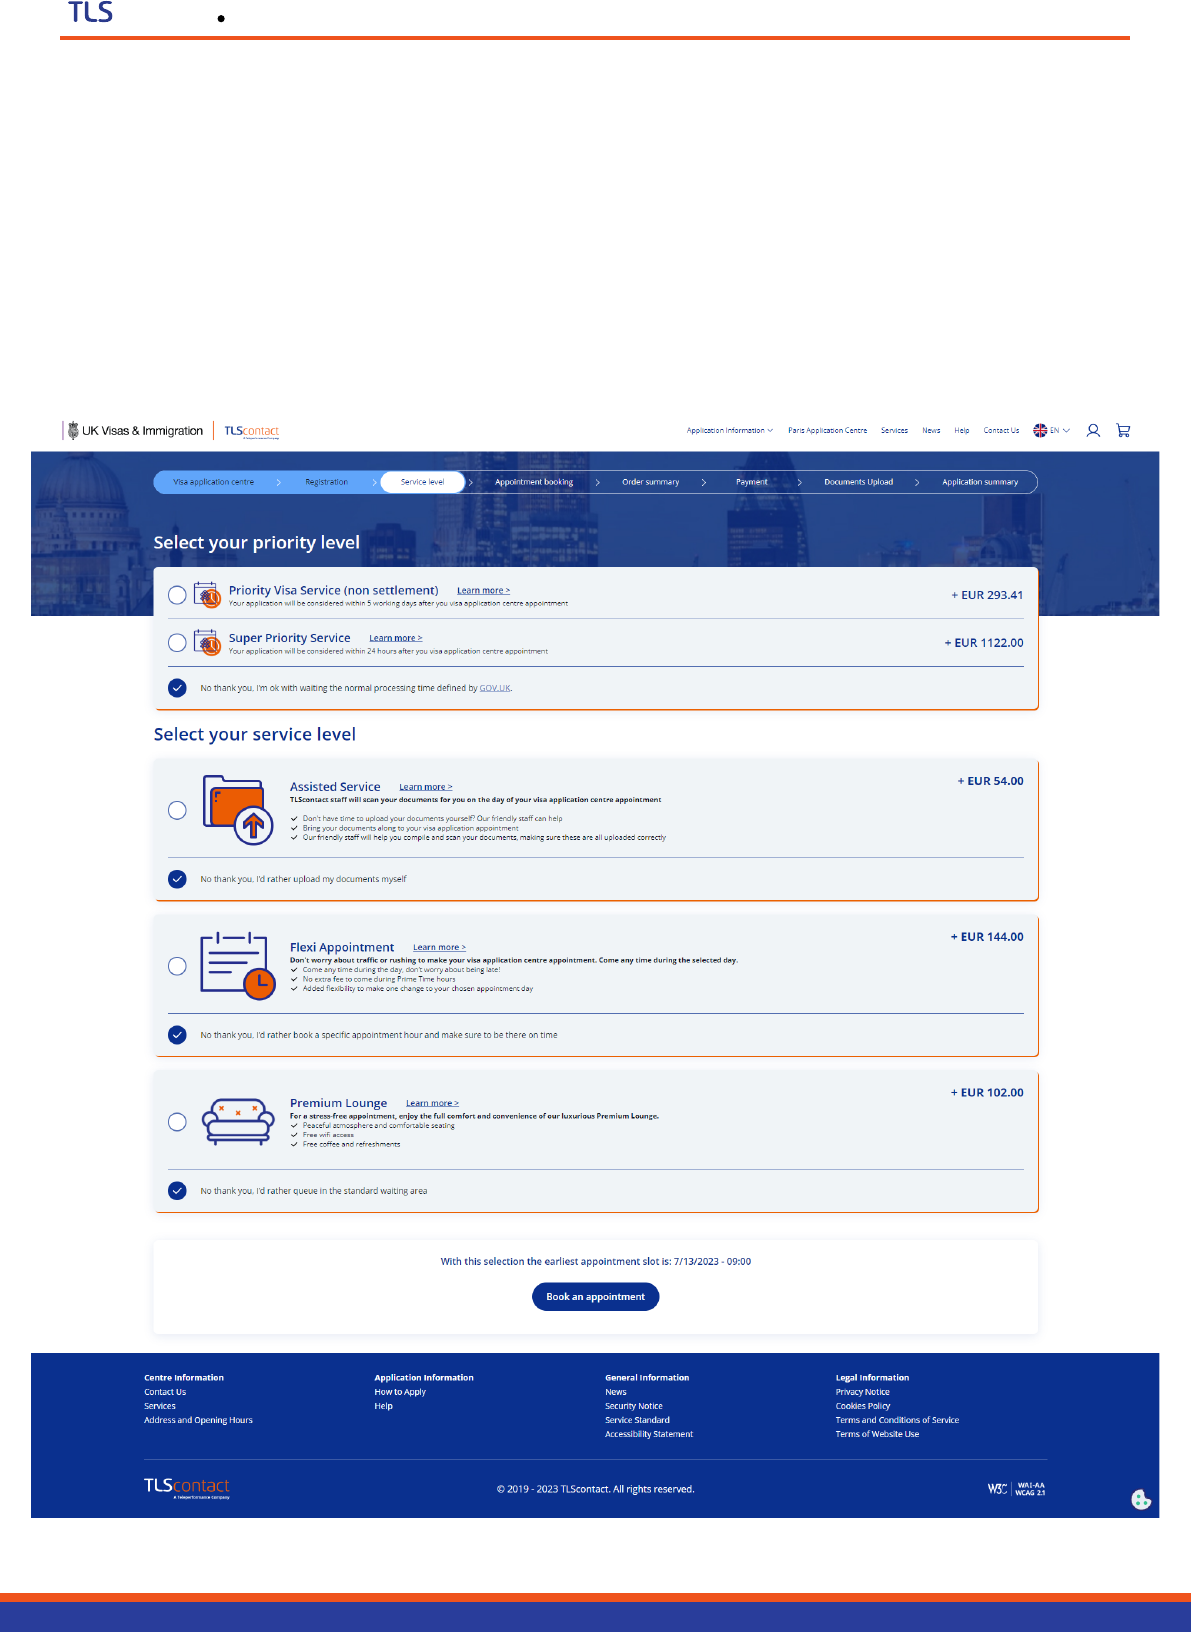
Step 4: Select your priority and service level
Next you will be offered a selection of optional services to upgrade your visa application services.
If priority or super priority visa processing options are available for your visa type and selected
visa application centre, this will also be shown here.
You can select any or none of these services.
Click on “Book an appointment” at the bottom of the page to continue.
contact

User Guide
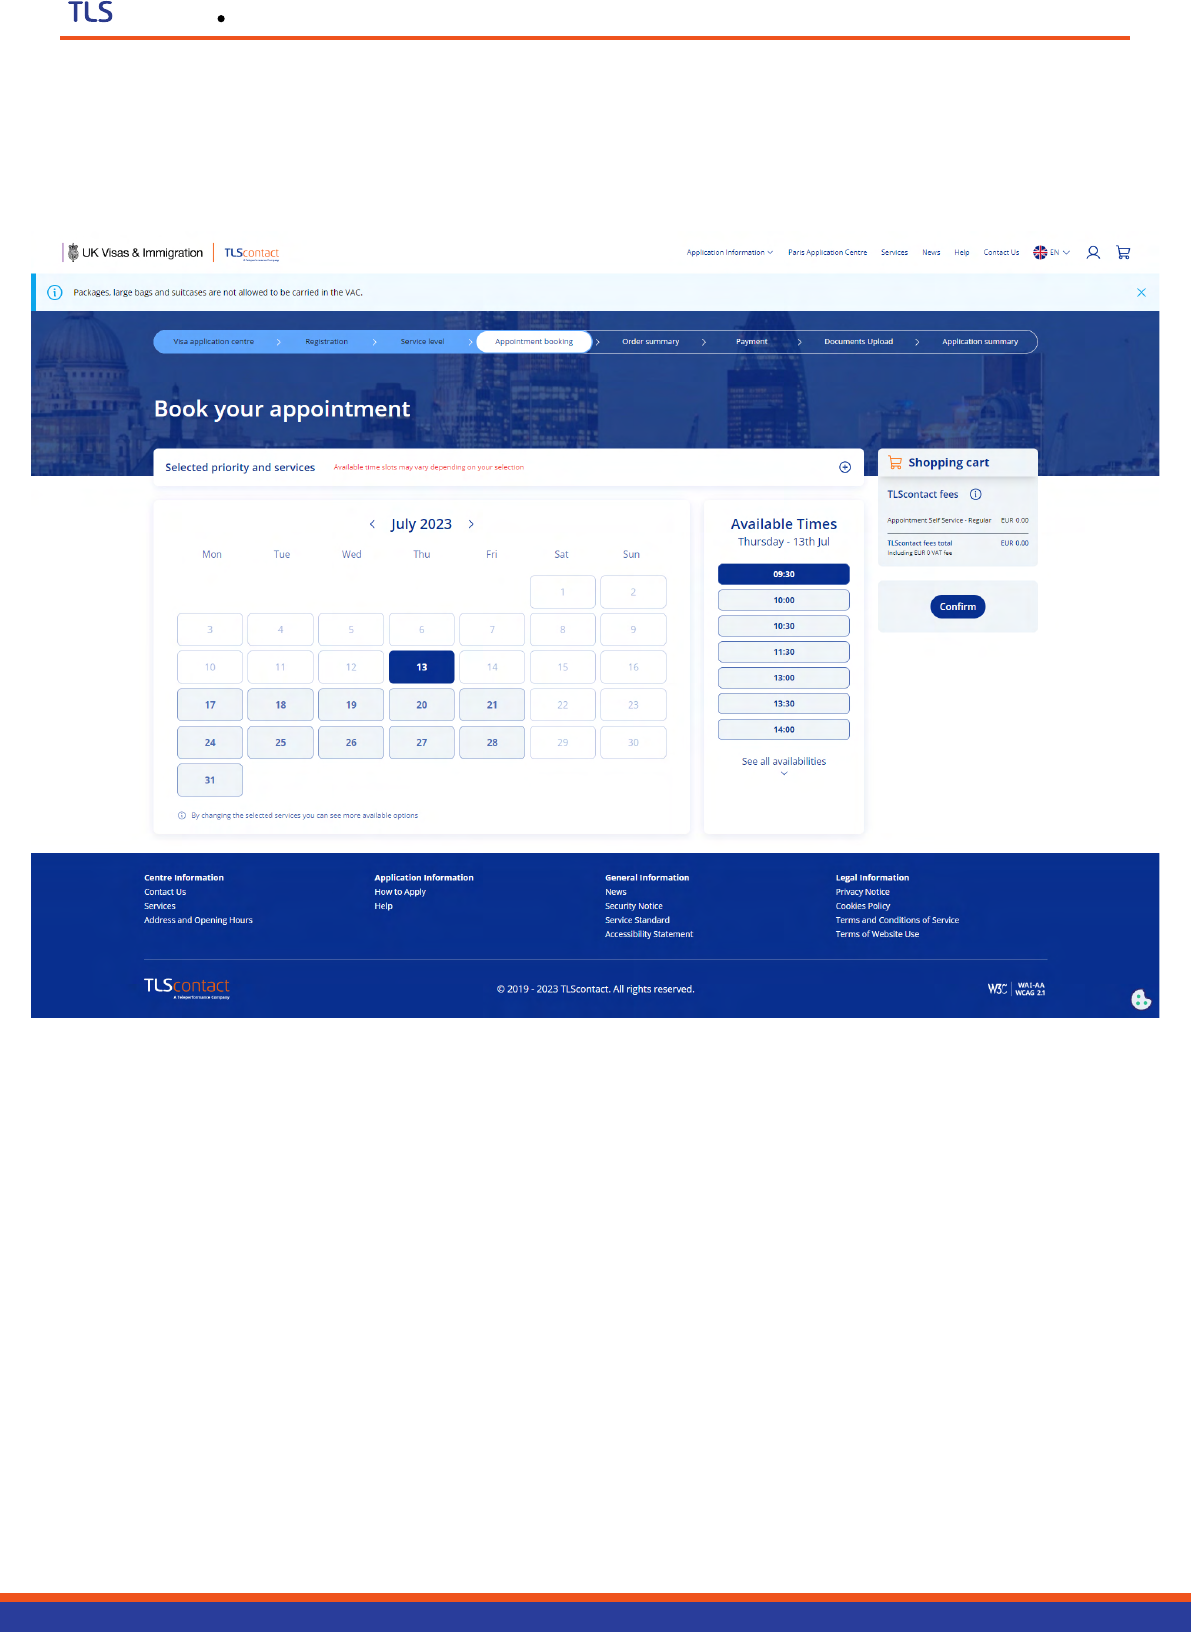
Step 5: Book your appointment
On the next screen you will be able to see all the dates available to book an appointment to submit
your biometrics.
The dates and times available will depend on your visa type, and your selection of any
additional services (such as priority visas or Prime Time Appointments).
contact
User Guide
contact
If you have selected other services on the previous page, you can click on the “+” button
to see these and change your selection if needed.
When you are happy with your selected date and time, click “Confirm” to move to the next step.
User Guide
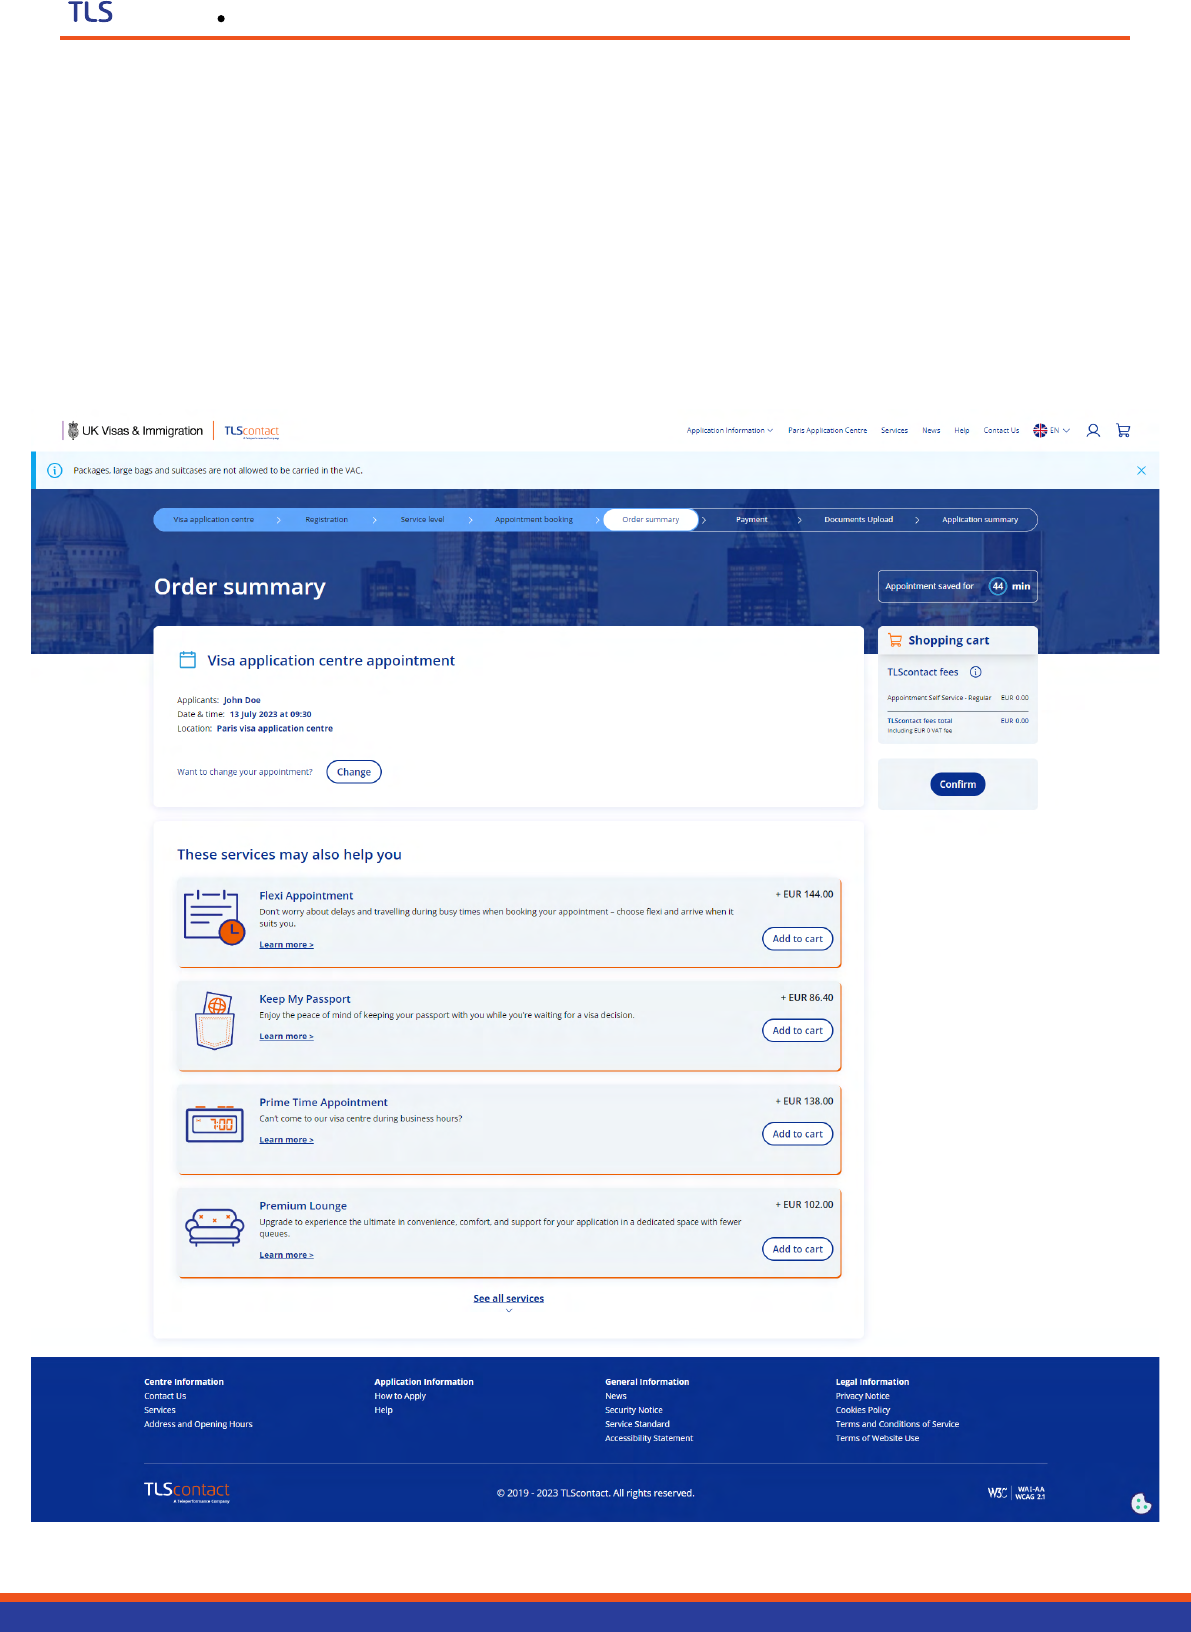
Step 6: Order summary
Once you have selected your preferred date and time for your biometrics appointment, you will be
shown a summary of your selection, as well as a shopping cart including any services you
have selected.
You will also have the opportunity to add any additional optional services.
To continue click “Confirm”.
contact
User Guide
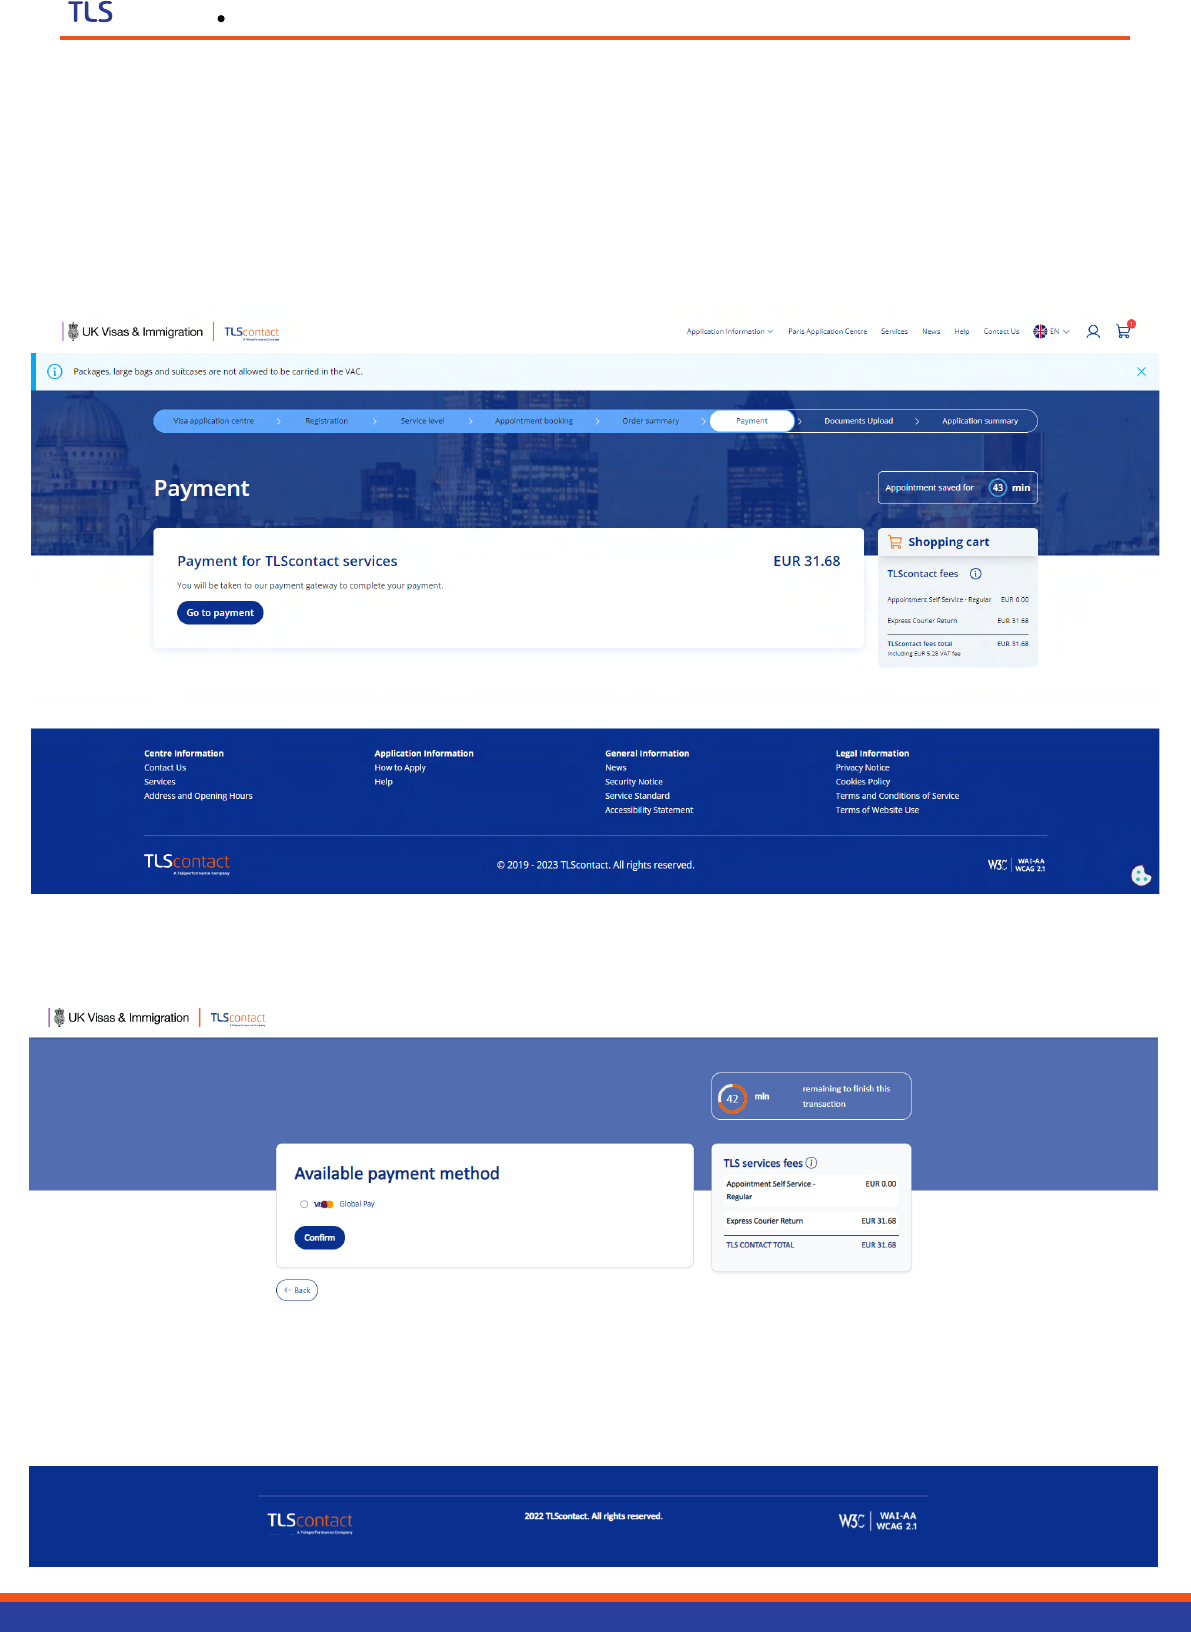
Step 7: Payment
If you have chosen any services that you need to pay for, you will be taken to a payment
confirmation page.
If you do not need to pay for any services, you will be taken directly to the document
upload page (Step 8).
contact
You will be taken to the TLScontact payment gateway, where you can select your preferred payment
method, and follow the steps to make the payment.
User Guide
contact
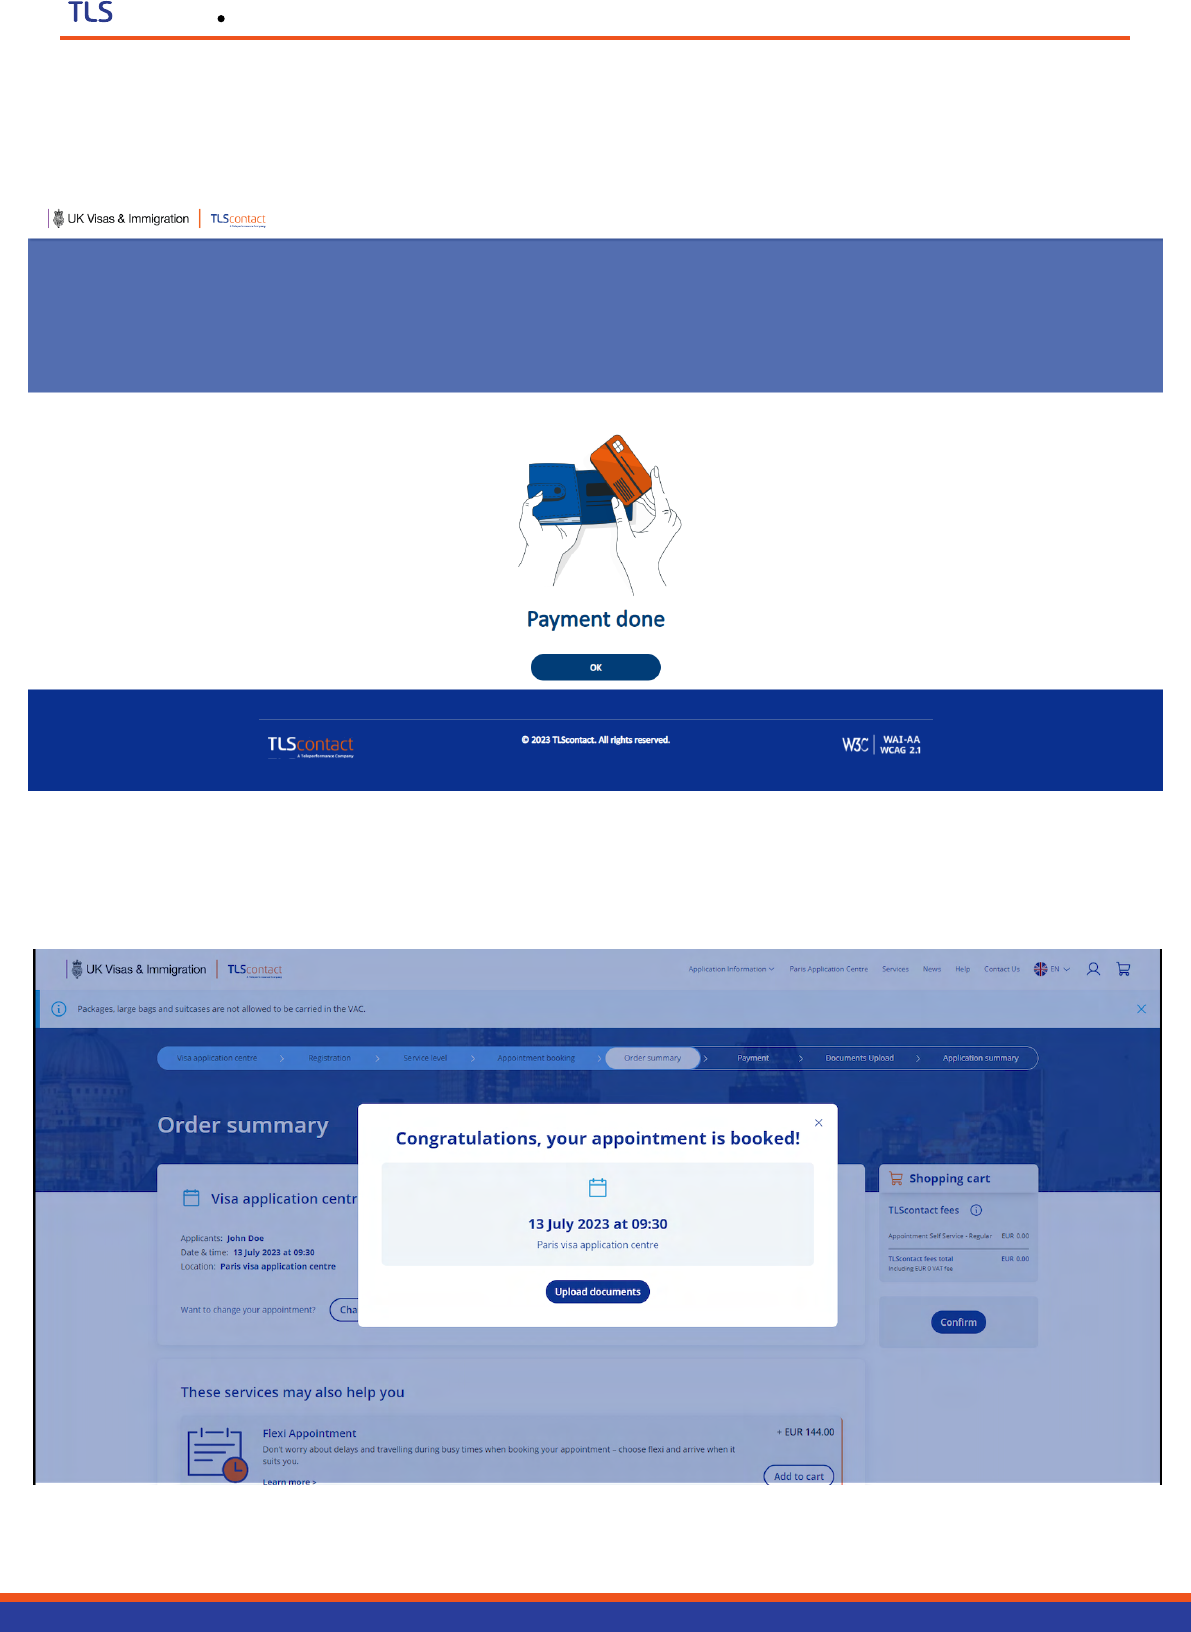
Next you will be shown the appointment confirmation message.
Click on “Upload documents” to go to the next step.
When you have successfully paid, you will be shown a payment confirmation page.
Click “OK” to continue.
User Guide
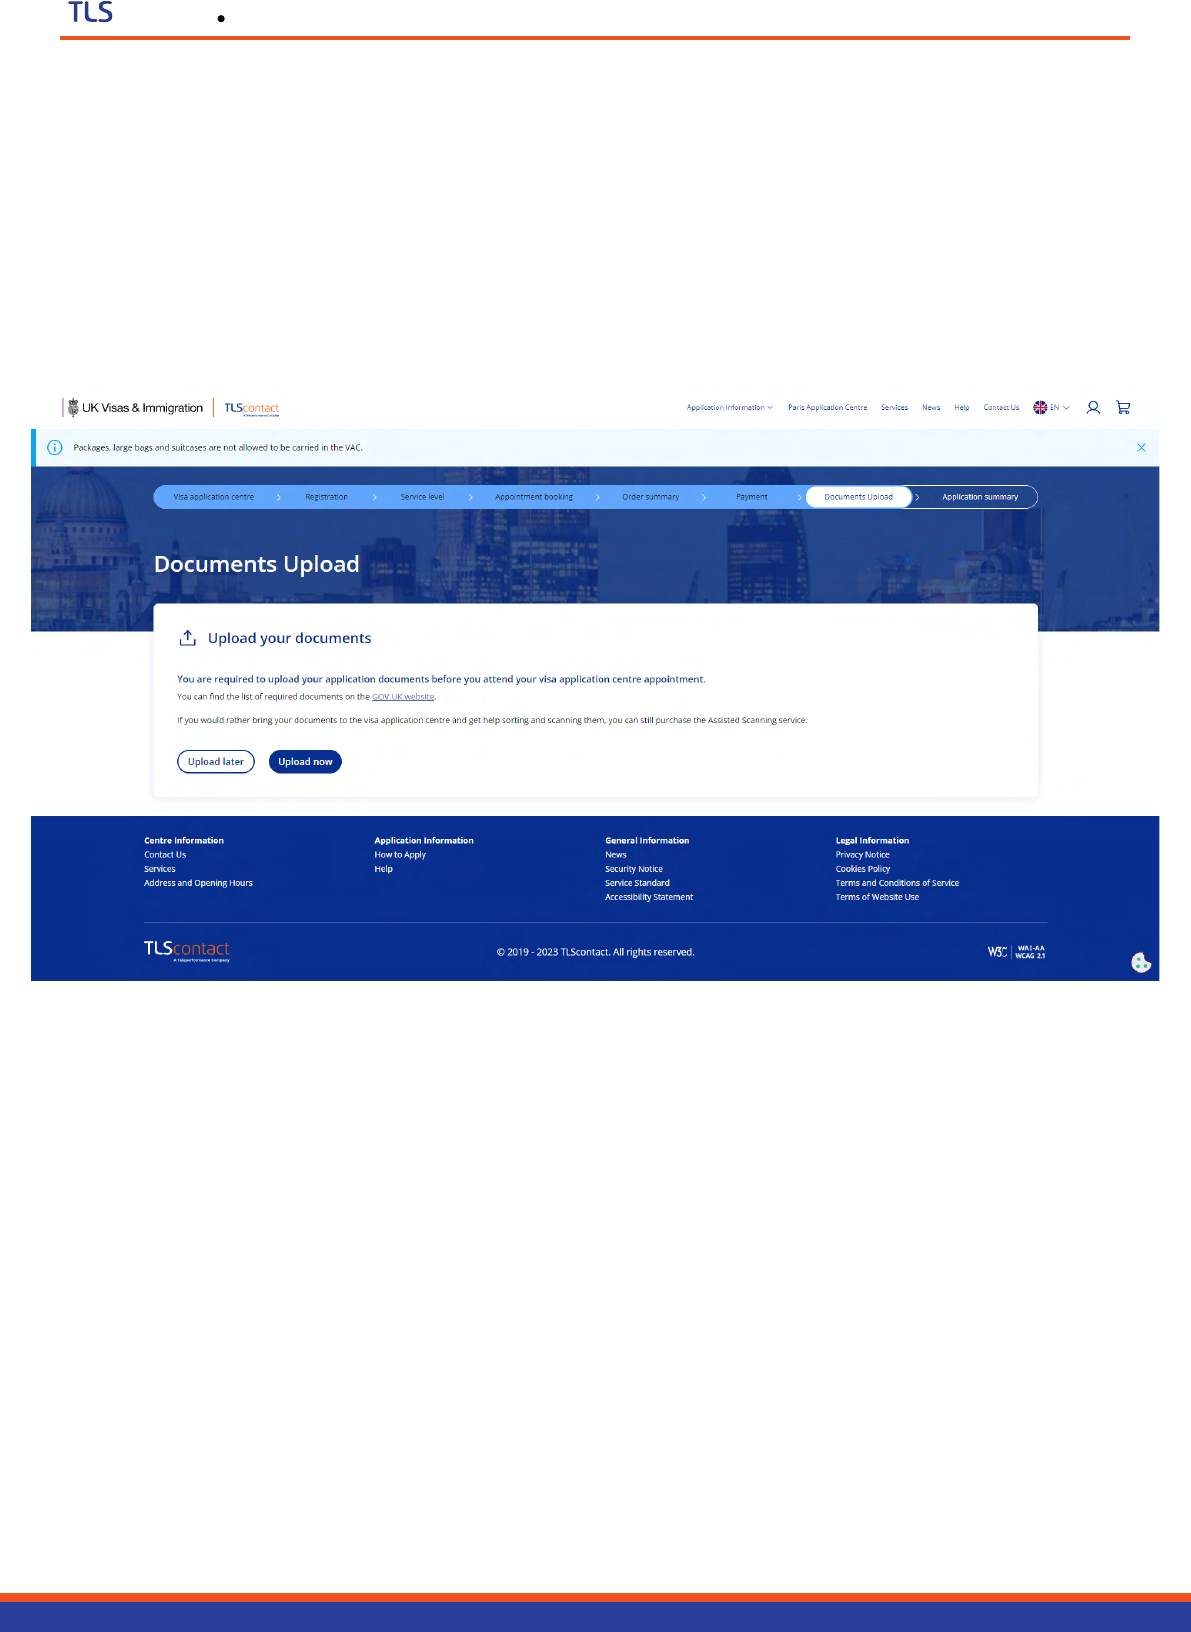
Step 8: Document upload
After clicking “Check my application”, you will land on the “Documents Upload” page.
For most applications, this is where you will upload any documents to support your application.
You will normally receive a list of documents to submit when you complete your application
on GOV.UK.
contact
Here you can choose to upload your documents immediately, or leave that for later.
If you choose to upload your documents immediately, clock on “Upload now” and a new window
will open for TLSdocuments, the dedicated document upload portal.
If you click “Upload later” you will be taken to the “Applicant information page” (Step 9).

User Guide
Step 9: Applicant information page
The “Application information” page is a summary of all the information about your appointment.
This page includes information about your appointment date and time, the address and opening
hours of the visa application centre, as well as a link to “Track My Application”, where you can
monitor the status of your application. If there is another step you need to complete, such as
uploading documents, this will also appear here.
You can now log out of your account and return later to make any changes or track your application.
contact
User Guide
contact
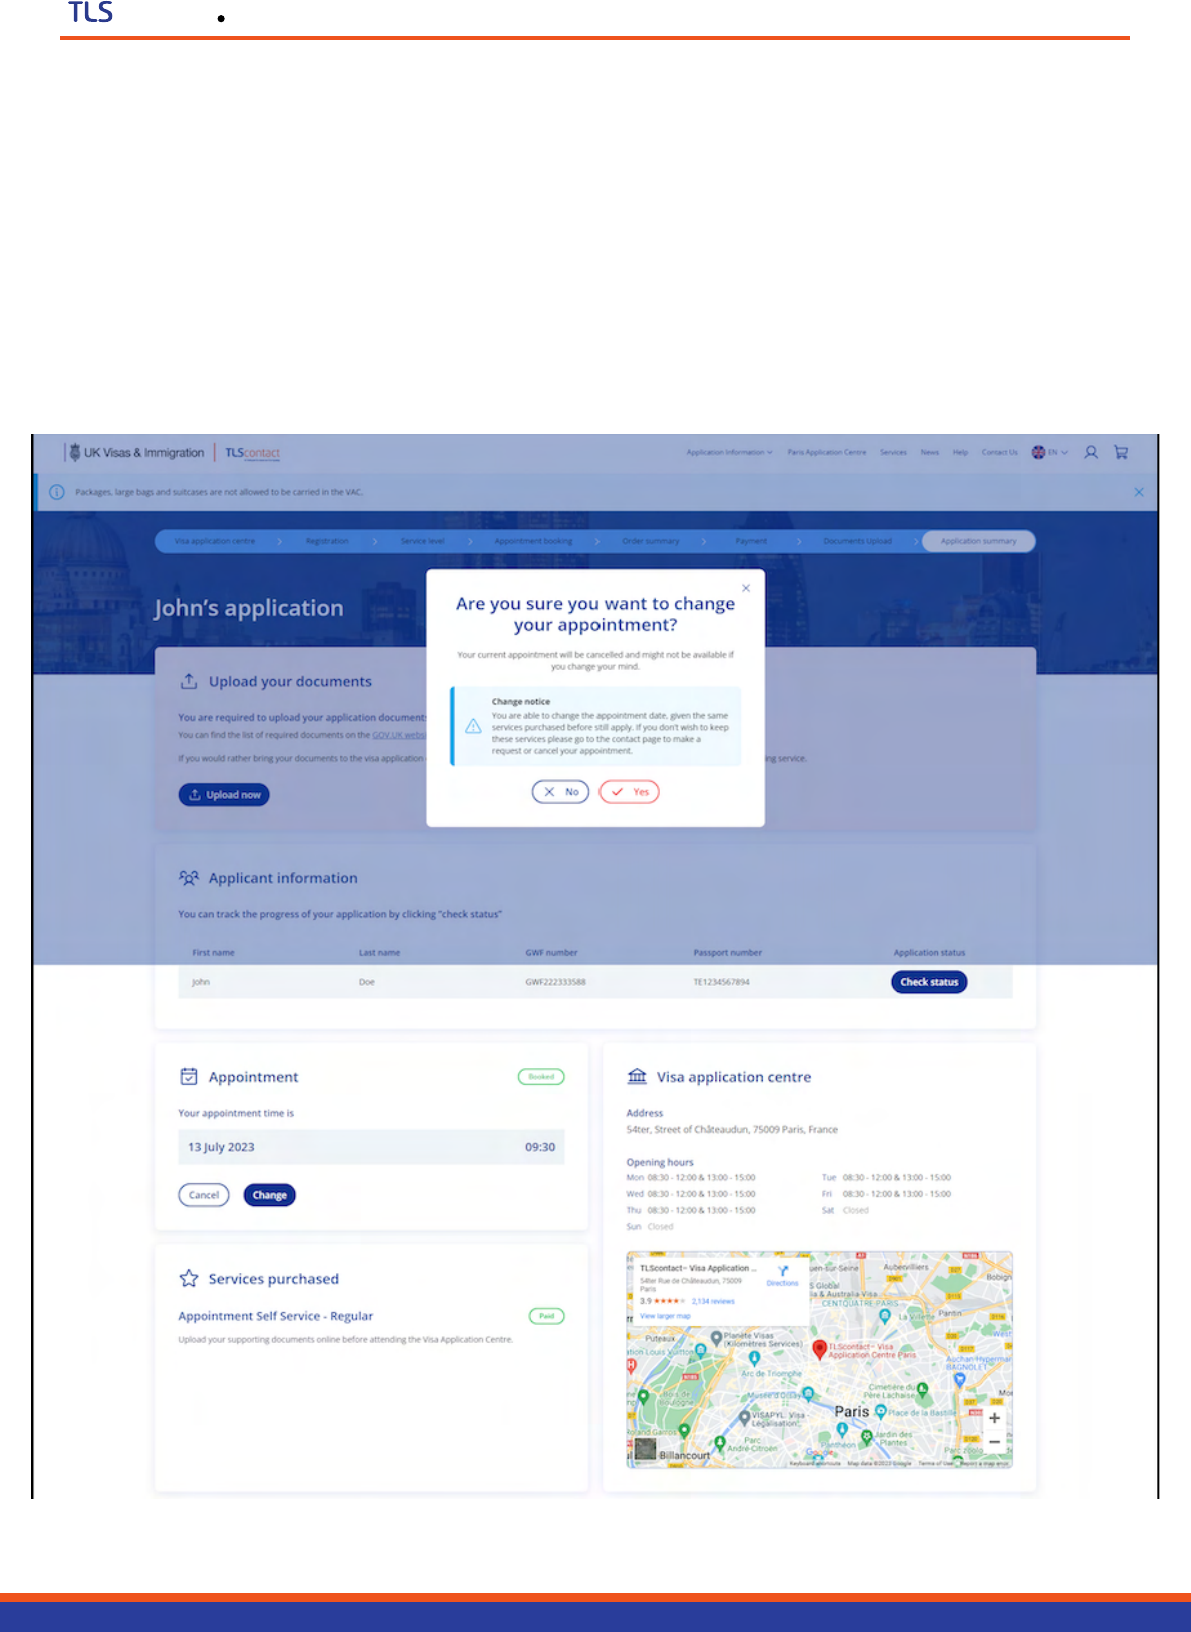
Change your appointment
You can manage your appointment directly in the “Application information” page.
You also have the option to change or cancel your appointment.
However, please note that if you change your appointment, your current appointment date
and time slot will be cancelled. There is no guarantee that that the same appointment date
and time will be available if you change your mind.
User Guide
contact
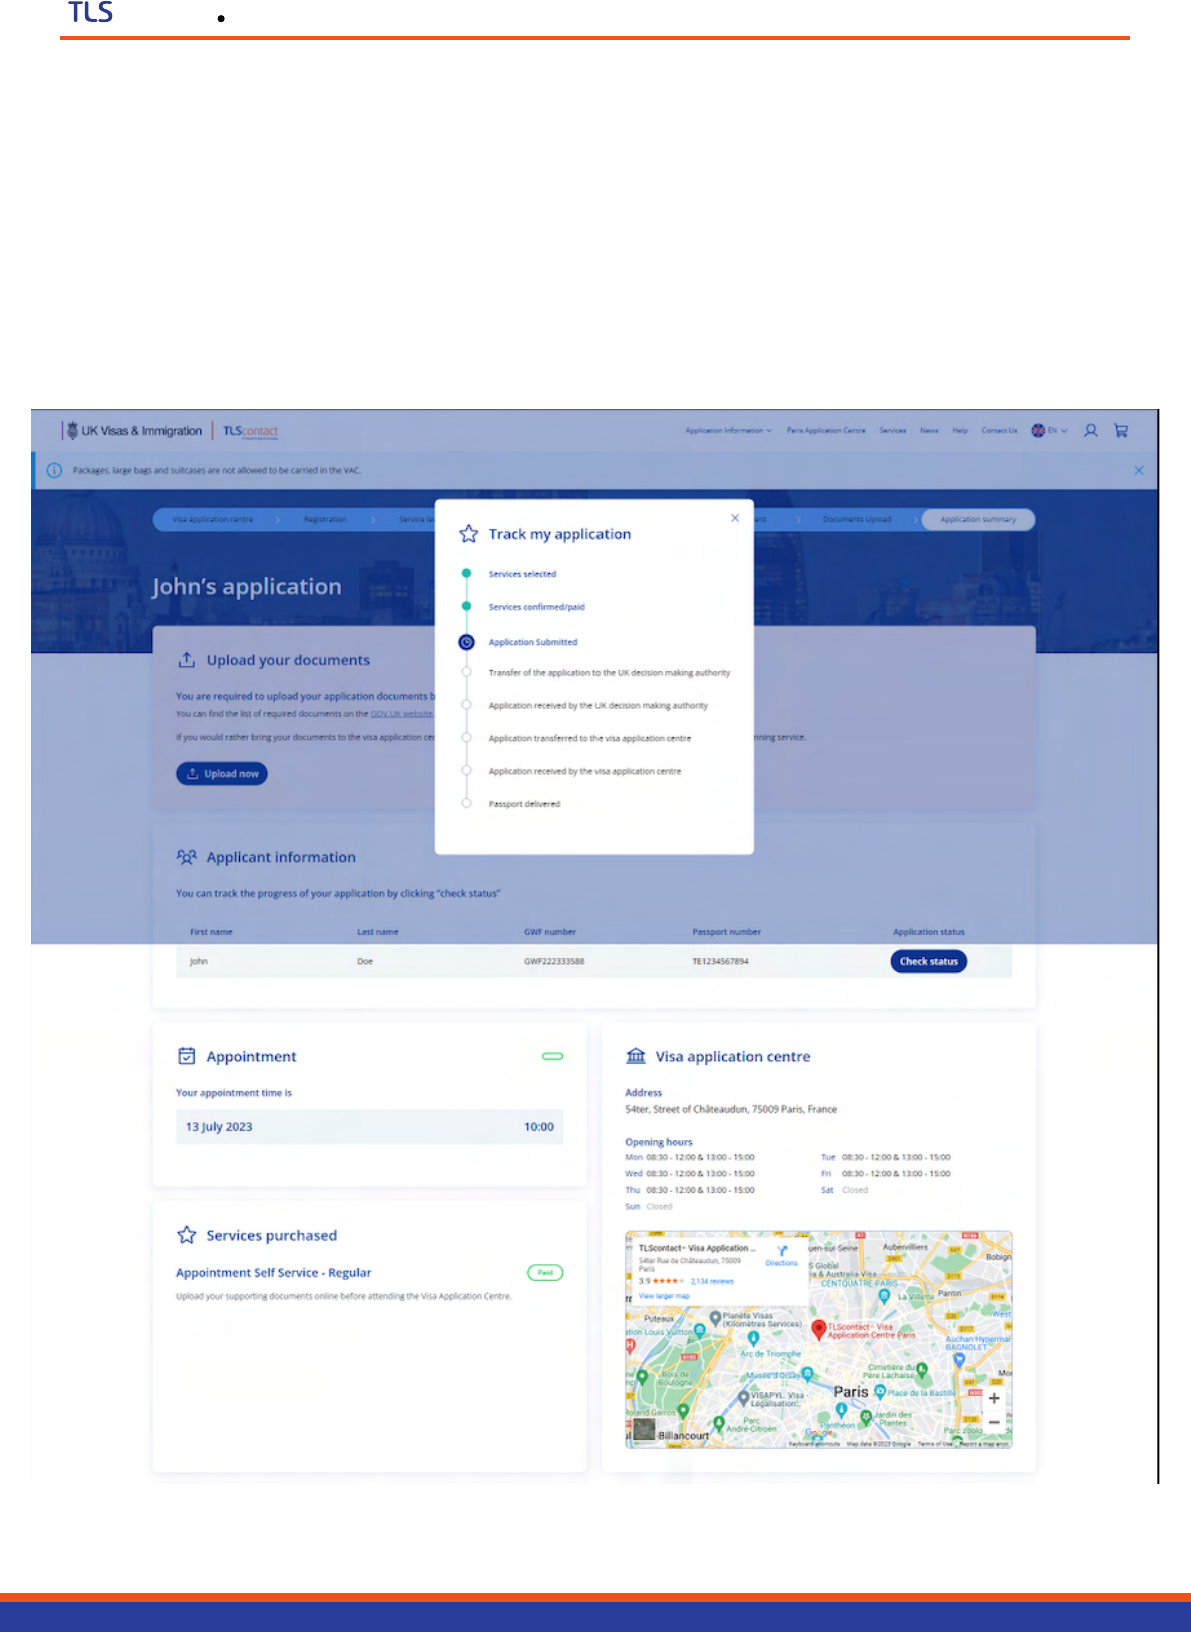
Track your application
You can track the status of your application from inside the “Application information” page by
clicking “Check status” under “Application status”.
This will update automatically as your application is sent to UK Visas and Immigration and
then received back at the TLScontact visa application centre where you applied from.
User Guide
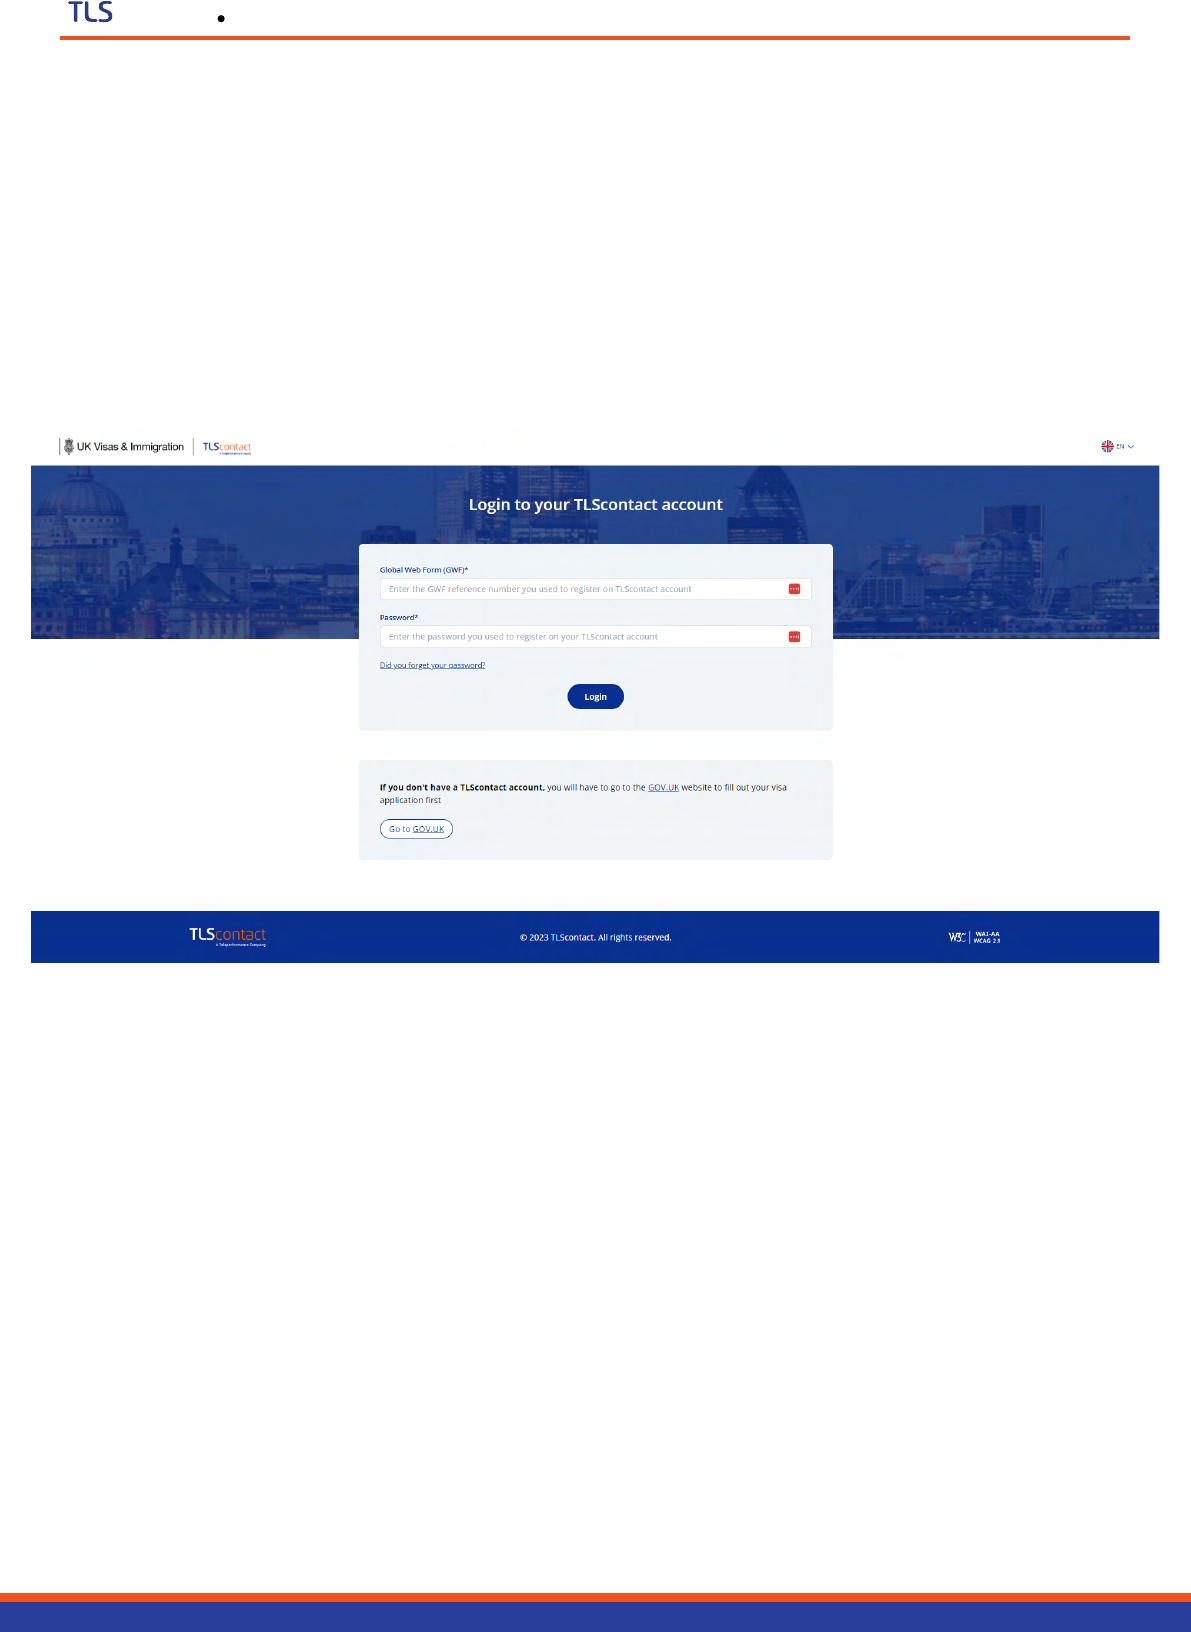
Log into your account
You can log back into your TLScontact account at any time by visiting visas-uk.tlscontact.com,
navigating to the visa application centre where you submitted your application, and clicking on
“Login” in the top right of the page.
This will take you to your “Application information” page.
contact
